In the Application to Rent: Personal Information, by default, an applicant is asked if they need a Guarantor. Learn more about the Group Application Process.
You can manage the Guarantor process from your Settings.
Navigate to your Settings from the drop down menu found in the top right, below your account name.

Click on Application Criteria.
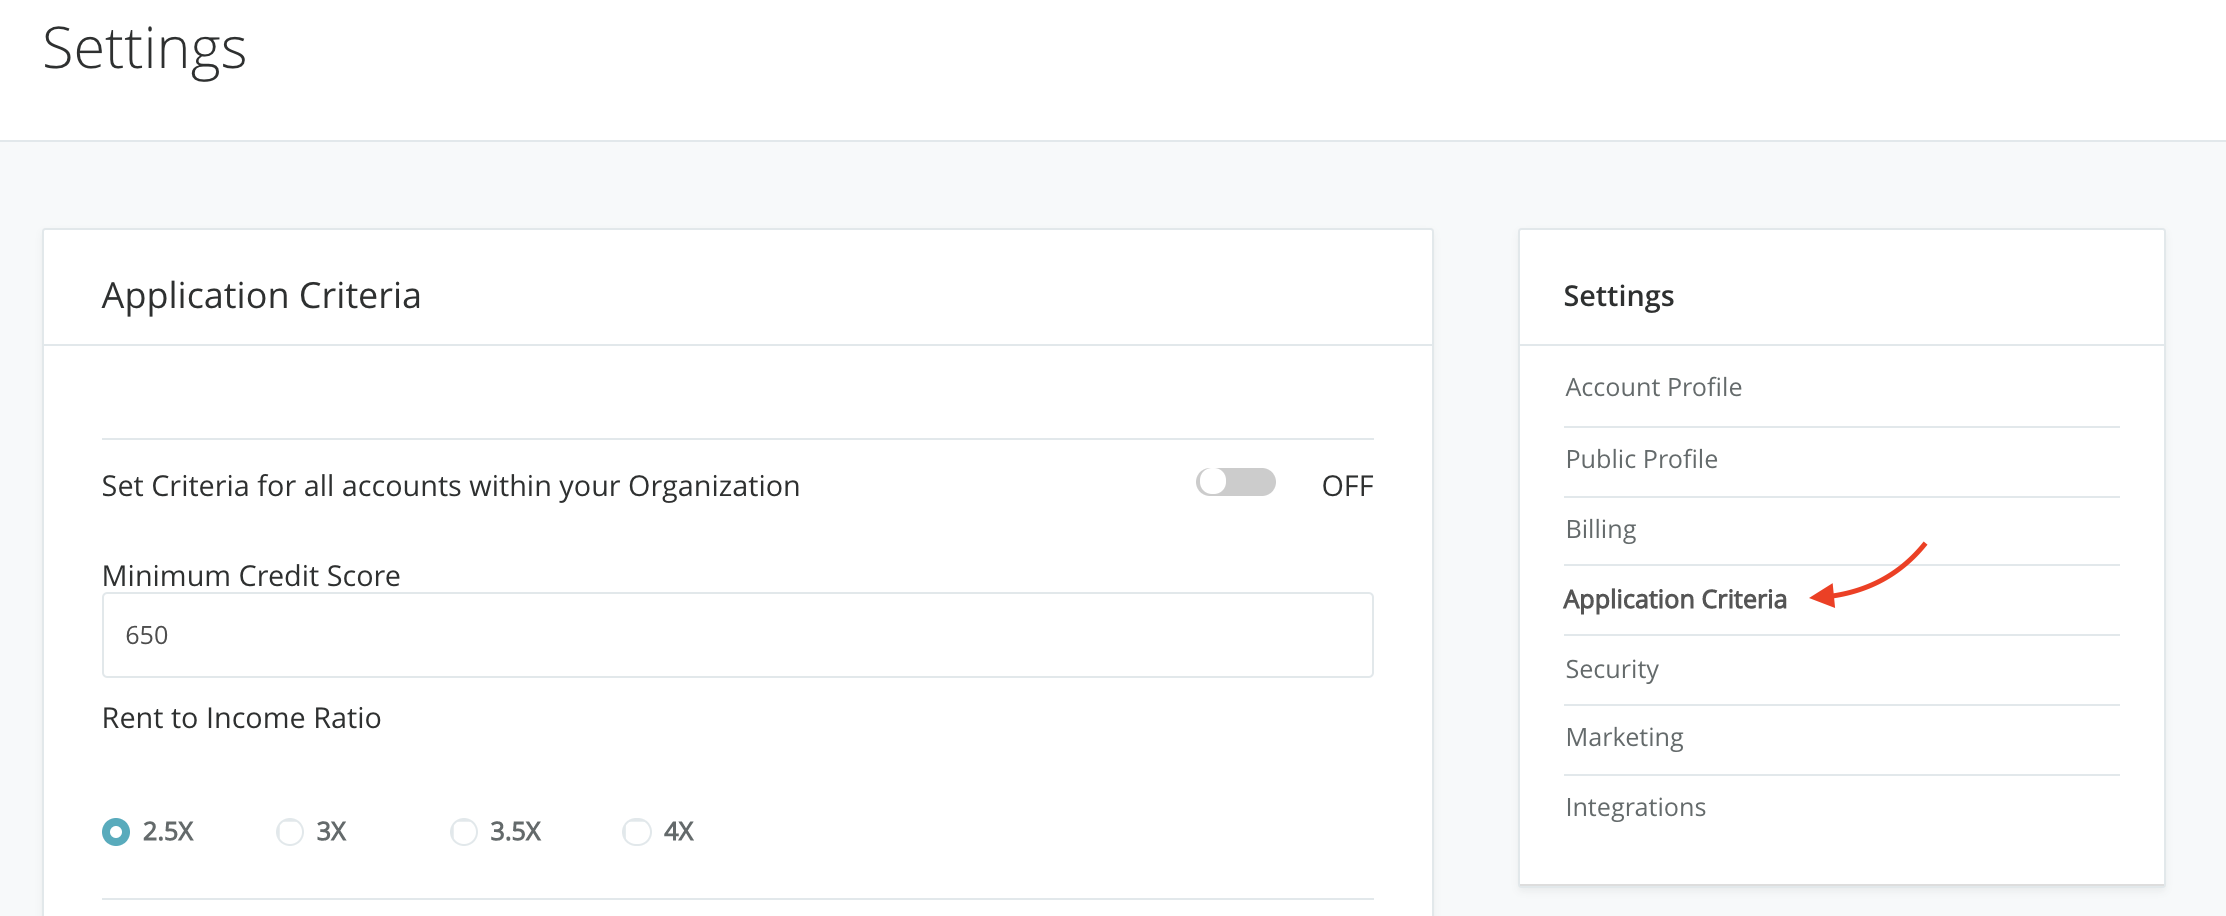
Scroll down to Guarantor.
By toggling the Guarantor section OFF, the Application to Rent will no longer have the option to invite a Guarantor upon submitting their application.
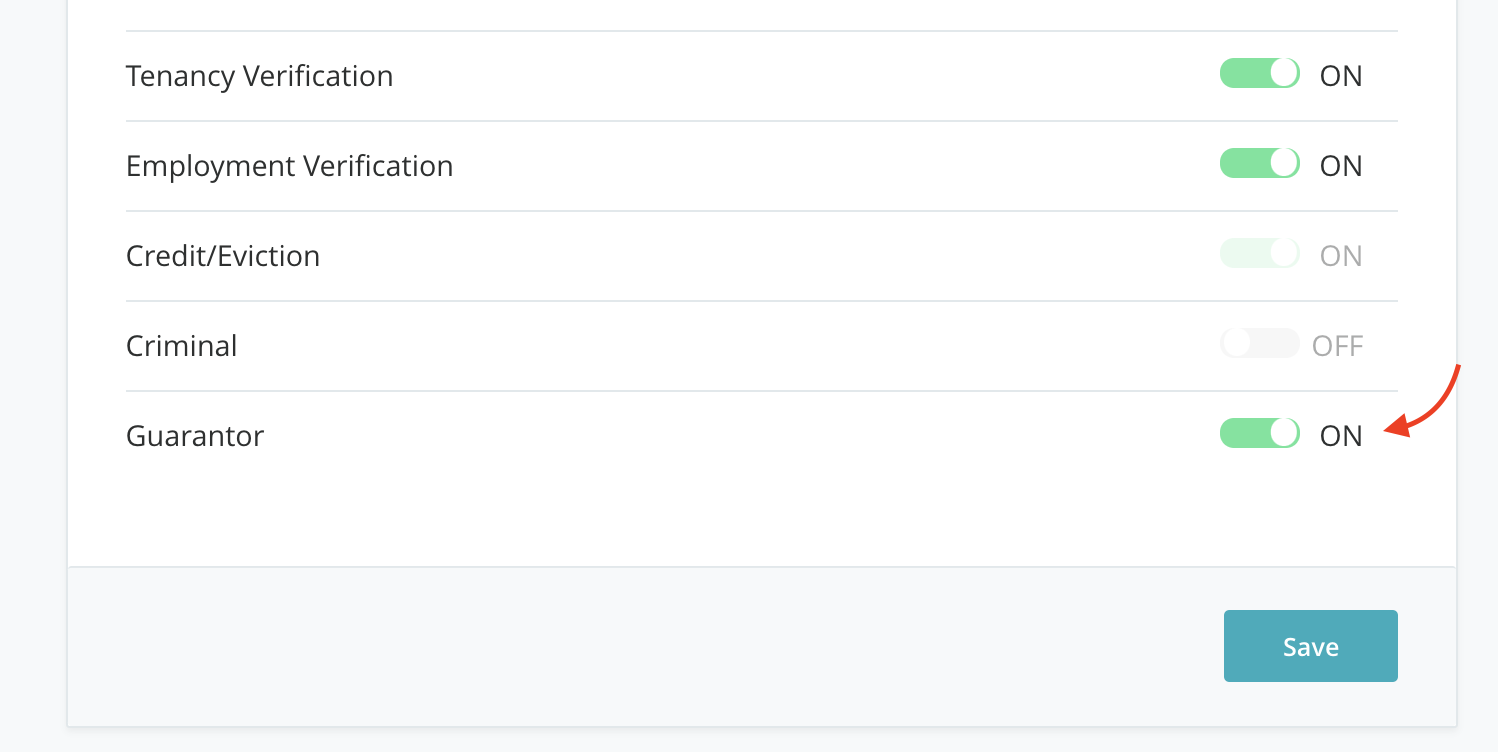
Once you toggle Guarantor OFF, an additional option will appear.

The additional option allows an agent to manage the Guarantor process on an as-needed basis. If an agent checks the box for Activate on an as-needed basis, and saves this setting, the applicant won't see the Guarantor section upon initially submitting their application, however, after an agent has obtained the applicant's data then decides a Guarantor is acceptable, the agent can turn ON Guarantor for the one decided application.

Application Details
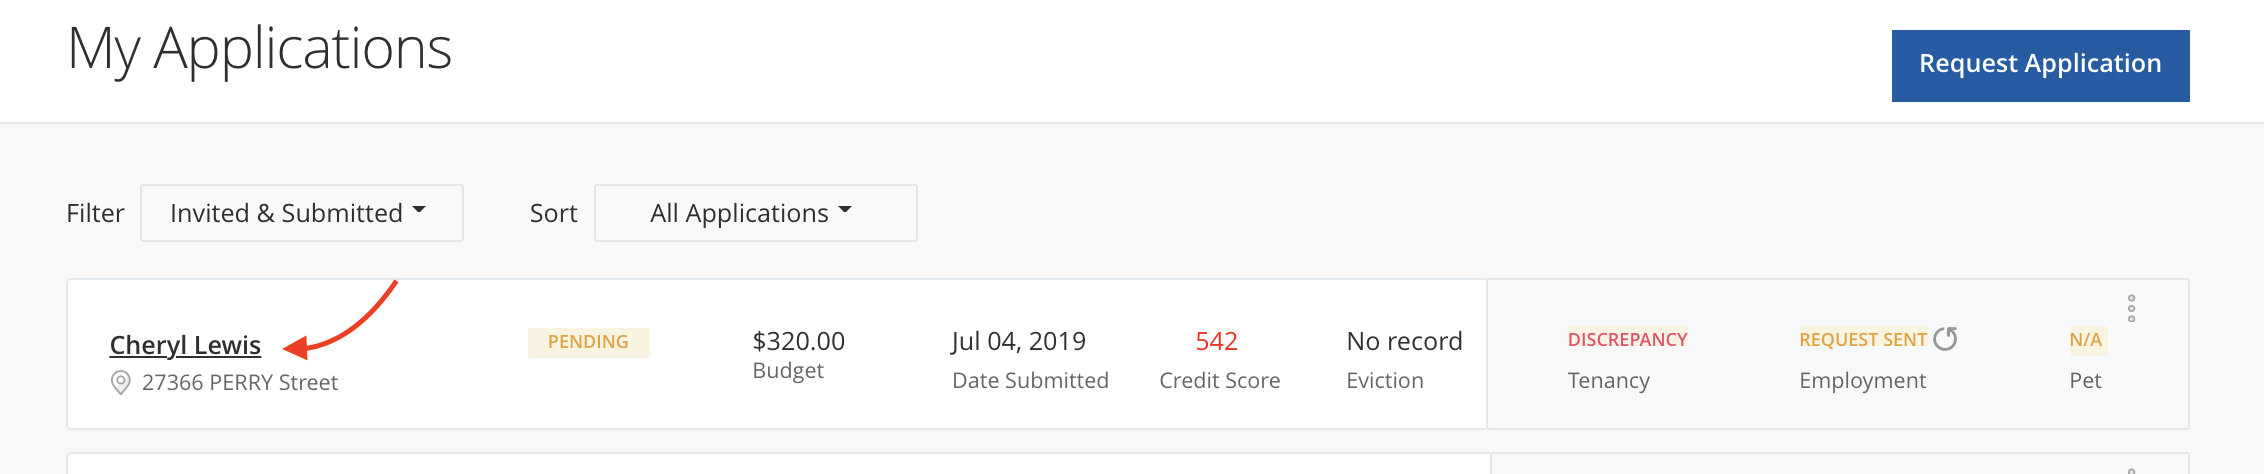
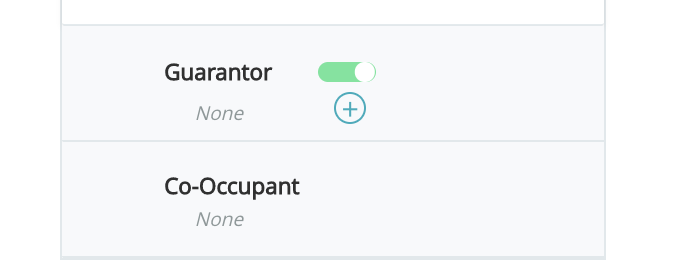
After saving the Additional Option in your Settings, navigate to the newly submitted Application Details. In the right panel within the Guarantor box, you'll see that the applicant's Guarantor section is Inactive.
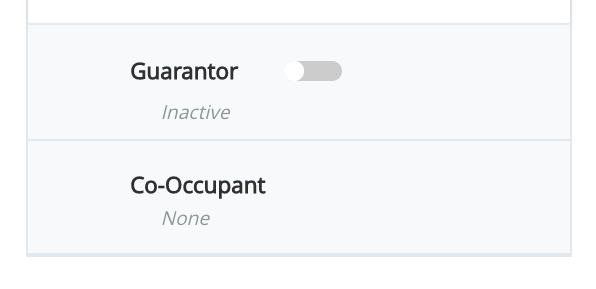
To activate the Guarantor for the one selected application, toggle Guarantor ON.
Scroll down past the Activity Feed in the right panel.
Once toggled ON, the applicant will now see the Guarantor section in their dashboard. An agent will have two options:
1. Ask the applicant to invite their Guarantor from their dashboard
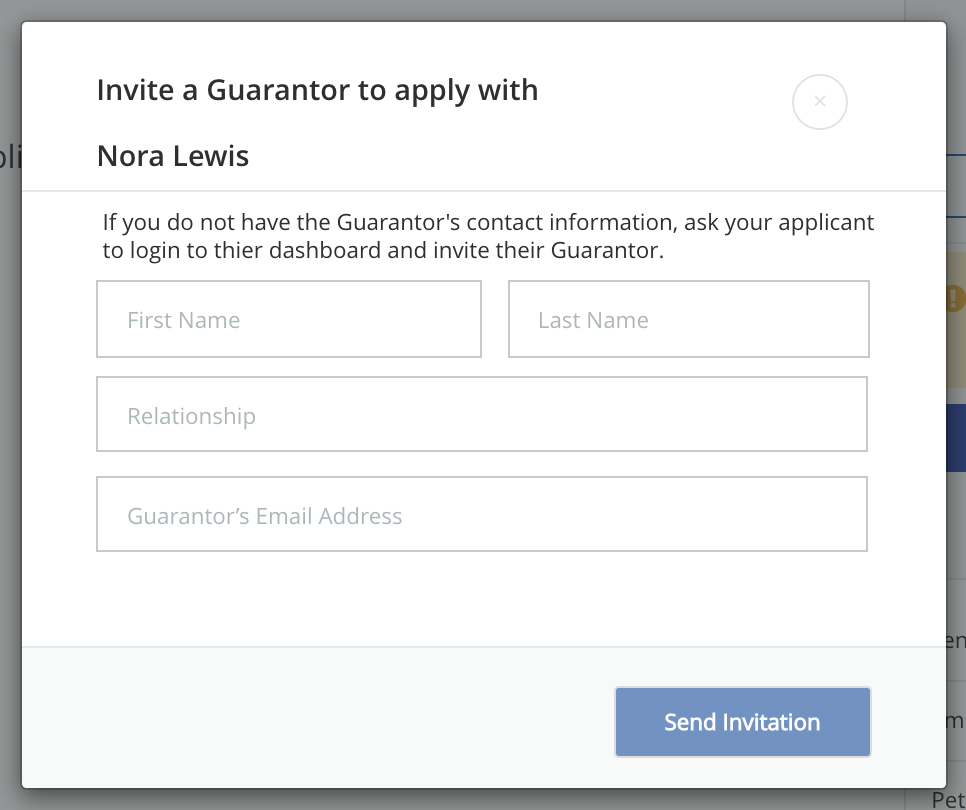
2. Invite a Guarantor for the applicant by selecting +
If the agent selects +, an invite modal will pop up. The Guarantor's First Name, Last Name and Relationship are optional, the Email Address is required.
Still need help? Submit a support request here.